The most common thing I hear when talking to people about my counted thread embroidery obsession is “I can’t do that, there’s too much counting and looking at charts”. And they do have a point– if you are a person who hates looking up from your work, finding your place in a chart, and looking down again, counted thread might drive you a bit mad. But, there are a number of tricks you can use to make the whole process easier.
I know there are people who like to intricately grid-up their ground fabric before they start to embroider because it helps keep them aligned. If that works for you, awesome. But I think my favorite part of counted thread work is the fact that it has minimal set-up. I tend to get enthusiastic and want to start RIGHT AWAY without sitting there for two hours basting lines in. Nope, not for me.
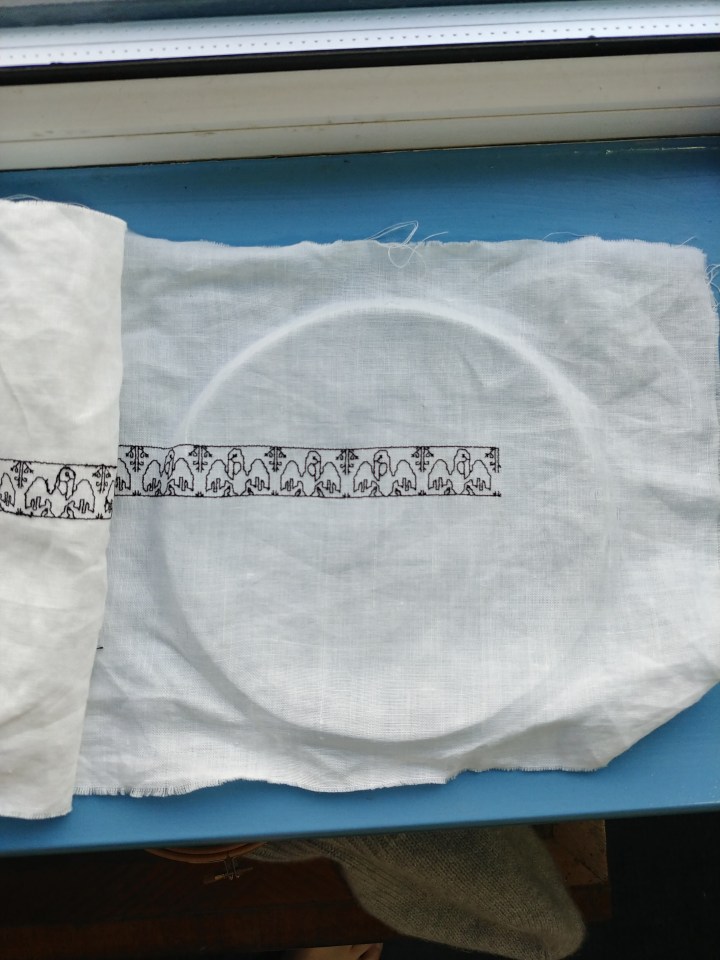
I will usually do something to help with my alignment. On this handkerchief with the dragon/rooster friends I turned and stitched a temporary hem to get good placement in the corner, and worked my way in a bit to a distance I found visually appealing. When I’m done I’ll pull that hem out and do a nicer one with pea stitch or something.

So now I have some weird critters placed nicely in a corner without much fuss and bother.
That leads me to my newest embroidery project. The Board of Directors of SCA North America announced recently that they were allowing reenactment events under very specific circumstances. This includes:
- Local mandates permitting groups to meet outside
- Outside-only events
- No overnight events
- Required face masks
And while I have a small face mask collection, as I am sure most of us do at this point, I do not have anything that matches my re-enactment kit. So that needed to be fixed!

And I had finally finished the pelican shirt, so I went a little nuts. I am going to make plain masks in white and natural, but I had to do an elaborate blackwork piece, so here goes.
First, pick a motif. Harder than it should be. I needed a fill pattern but I don’t actually like doing most double-running fills? Somehow the logic involved in getting around the thing reliably is not intuitive to me. I prefer bands where I have a direction. Hence, LACS.
Now that we have a motif, how do we place it? It’s really easy to just start an edge on an edge and go from there. That’s what I did when I started my coif– the pattern has flat edges and so does the motif, so that’s simple. But because I was doing a larger motif on a smaller object (extra small, since I have a tiny skinny face), I didn’t want to do that here. Plus face masks aren’t exactly normal shapes with sharp edges.
So I eyeballed the middle of the mask piece– again, if it were a rectangle I would have found the exact middle and basted that in– and started the middle of the motif there. Done. Easy.
Now the biggest problem I have with free-form LACS (no outline) is getting the count right. It’s not like normal cross-stitch where there are easily discernible individual units, because it interlaces, so counting finished stitches is hard. You can do it for short distances, and reference off those, but actually sitting down and counting the squares can be tricky once they are embroidered. Also, the charts often look like this

Can you see how trying to count across the middle of one of the big vines might be a problem? It’s just a big blob of black, and without a grid over it it’s pretty hard to see if that is 22 squares across or 23. Plus, I’m not great at counting that high without messing up. So, how to make this easier?
Well, first of all, remember that this isn’t knitting. I don’t have to raster all the way across the bottom row, turn around, and go back in one pass. In fact I don’t want to do that, because that means leaving long floats behind some of the gaps, and that is unsightly. Although I try to do all of my LACS boustrophedon to contribute to the interlaced look, I honestly can’t tell if one row goes the other way once in a while (particularly not at this scale), and I am perfectly happy to use that to my advantage. So here’s my attempt to indicate my working order for the big leaf section at the bottom, which I am currently working on. Basically my goal is to finish that big stem absolutely dead last so I don’t have to count it and can just go until I’m the right distance from bits I have already done. Observe.

By the time I get to section 6, I just have to reference it to sections 2 and 5 to know where to start and stop, instead of having to count alllllllll the way along that stem. And if you scroll back up to see where I am now, you can see how I’m now going back and filling that in. Looks a bit silly in the meantime, but it’s super helpful to keep me from making mistakes.
Speaking of mistakes…..spot the major one in this that prompted my change in technique

It’s pretty significant, but luckily I started this one right at the bottom where it gets gathered up quite tightly, and the mistake will get run off the edge quite soon! Nevertheless, planning is definitely recommended. If you want to learn way more about this process than I could ever teach you (because let’s be honest, I am still a beginner in the grand scheme of life and embroidery) check out Kim Salazar’s amazing blog.

I’m a cross stitcher who likes to use a grid, although I started my last project without one, miscounted and had to unpick a lot of the border. I ended up putting a grid in to work out where I’d gone wrong, as it wasn’t a small misreading of the chart. Your dragons are wonderful.
LikeLike